Monday, July 2, 2012

My Art Journal

Hi everyone! Today I'm sharing some shots of my personal art journal.


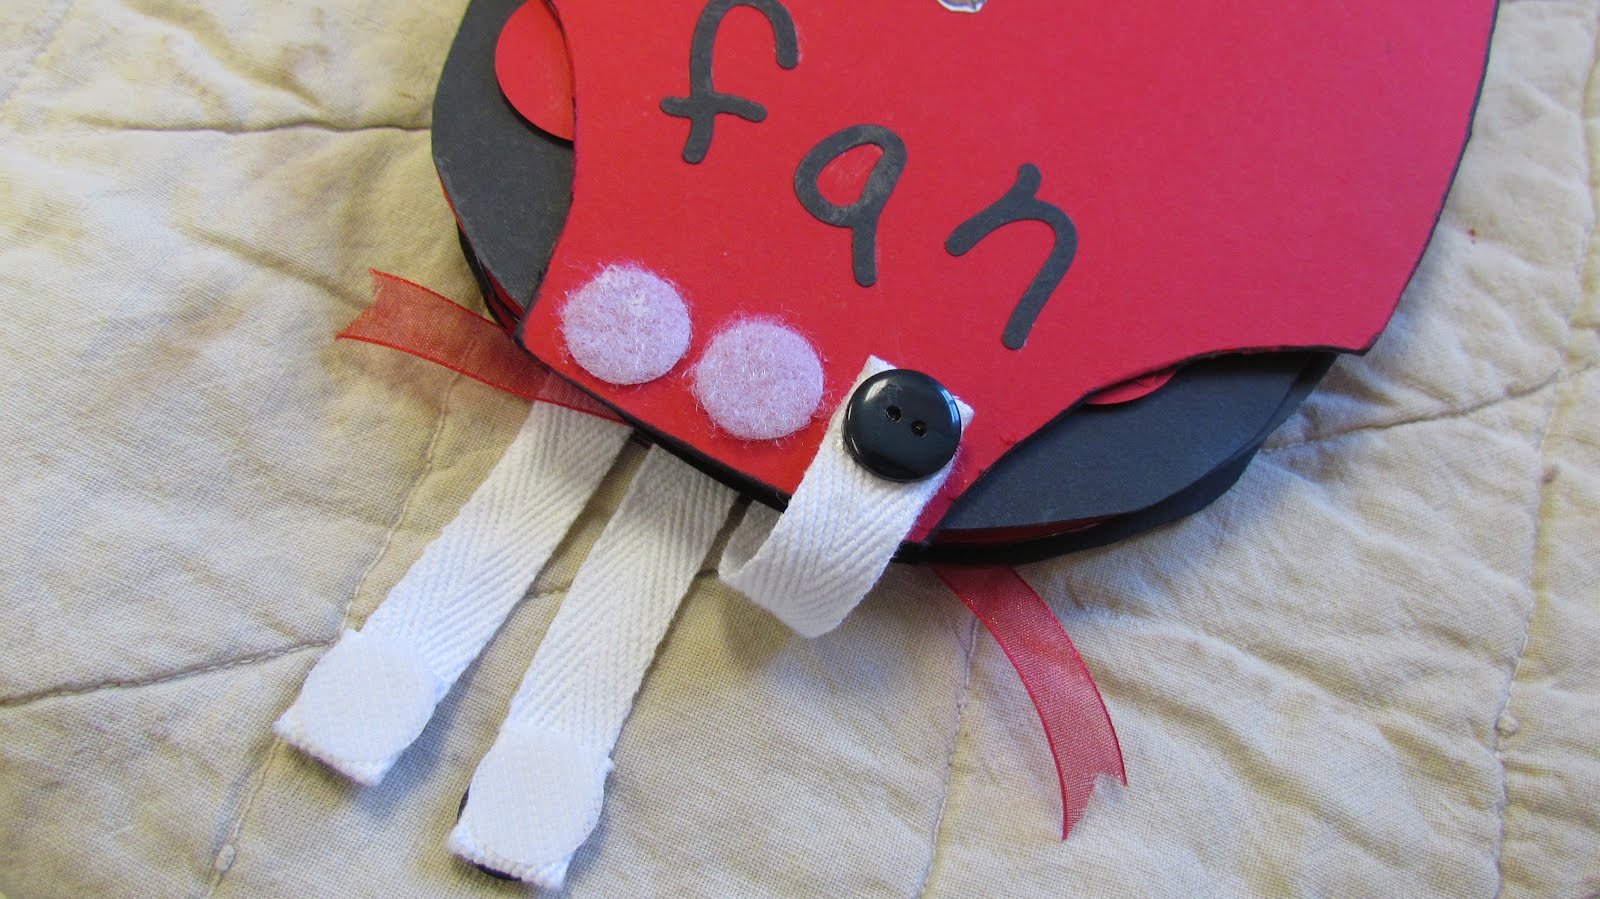
I'm using a composition book I got during a back-to-school sale. I painted the cover with acrylic craft paint and added a strip of antique feed sack down the binding. It was a scrap left over from one of my grandmother's projects. I'd intended to use blue flowers on the cover, but changed my mind, so the blue in the fabric looks a little out-of-place, but that's okay. The vintage glove belonged to my principal's mother-in-law and I bought it at a rummage sale our school was holding to raise funds for the United Way. I wrapped the thumb around and hot glued it to the back. A bit of vintage seam binding became the bow - no clue where I got it, and the flowers are from a grab bag of left over bits and pieces I bought at Hobby Lobby for 99 cents. The backdrop behind the journal is an old piece of a quilt my grandmother made. As it became too worn to use as a quilt, she cut out the "good" spots, added binding around the edges and made several mats. I remember she used them as chair pads (instead of cushions).

This is the first page. I don't remember where I found the piece I quoted, but it seemed appropriate and fit my wacky sense of humor. I've used vintage images throughout the journal. I love looking on Wikimedia Commons and the New York Public Library sites especially. They have a great many images that are in the public domain. I've also used pictures pulled from the web of some of the women who inspire me - Princess Diana, Amelia Earhart, Eleanor Roosevelt - strong women who were ahead of their time in many ways - women I'd like to be like. I haven't done anything to the inside cover yet. I'll cover it in some way before I'm finished with this journal.

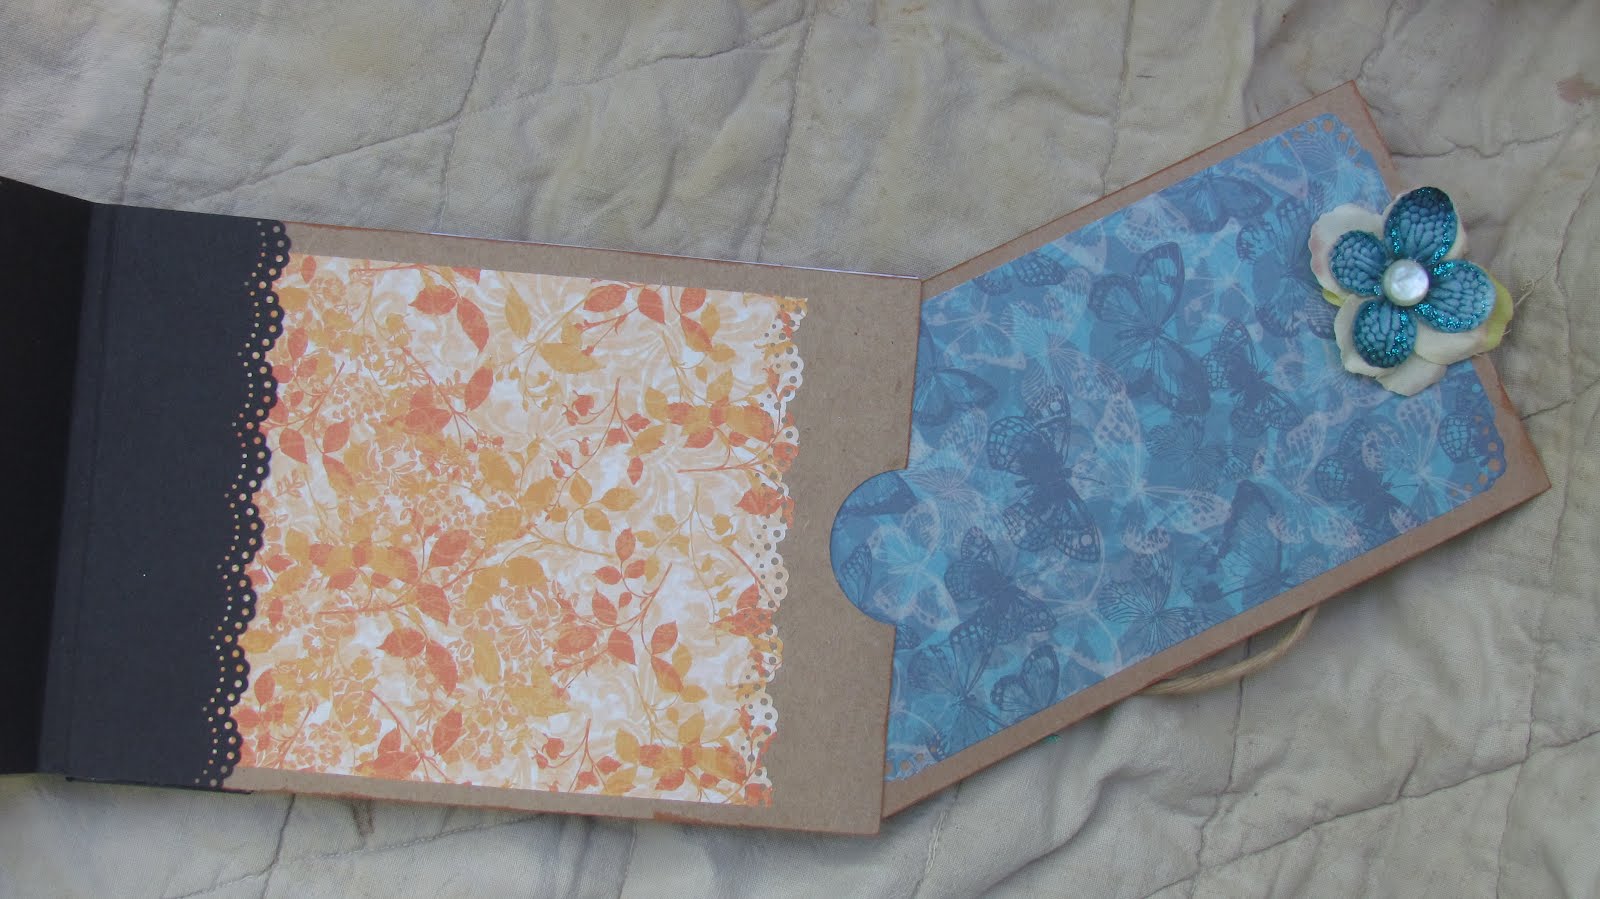
This is a spread in my journal. I'm not posting in any particular order, just what ever strikes my fancy. I started this journal after watching a Youtube video by Tangie Baxter. I recommend you watch her video. She has some good information about setting up the pages and getting started. I chose to glue 2 - 3 pages together for strength because I knew I was going to glue a lot of stuff on them and wanted them to hold up. The background on this particular spread was made by painting the pages with cheap acrylic craft paint in ivory, then scribbling all over the pages with water color pencils in a couple o different colors. I wet a wide brush with a little water and went over the whole page, blending the scribbles and colors into a nice even coat. I used a large rubber stamp (3" X 4") with small squares and different designs in each to stamp over the whole page with black ink. The stamp doesn't have a name on it and I bought it at a yard sale, so I can't identify it. I used some clear stamps (flourishes) to cover the page on the right - stamping over other designs to just cover the pager and give some dimension. I also added some of the flourishes to the other page. The quote is e.e.cummings and one that I particularly like. I typed it up in a word document and printed it out, tore it out and inked the edged with distress ink. My choice of adhesive varies with my mood and the materials. Sometimes I use the photo glue sticks from Hobby Lobby. Sometimes I use gel medium both under the piece and over it. Other times I use The Ultimate glue in a bottle and I have used Yes! paste, but I find it a little difficult to get smooth and even. I used pop dots under the photos and inked the edges with distress ink just to bring a little attention to them. The pieces of corrugated cardboard around the edges is packaging from a new set of pots & pans I'd just bought. They were already cut into triangles, I just hit the top of the ridges with distress ink and glued them down. You may notice the ridges go in random directions and I did that on purpose (really!) for added interest, but to be honest, at first the different directions bothered me a little, but I was trying to work outside my comfort zone. Now, looking back, I think they look pretty cool. The hand lettering was done using paint pens. I've bought a lot of different brands a lot of different places, but I'm really pleased with the Sharpie Poster paint pens. The white is pretty opaque which is difficult to find. I also use a lot of Painters opaque paint pens by Elmer's.


Just a few more spreads done about the same way. I'll post more later along with info about how I made them. Take care until next time! Ann & Katie

Wednesday, June 13, 2012

Mariposa Paper Bag Album

Just had to share pictures of the Mariposa album that my daughter & I have been working on (it seems like FOR EVER). Finally got it finished & listed on ETSY.


The cover is made from matte board cut to size and covered with scrapbook paper. I used the Mariposa stacks (prints & solids) by DCWV. A scrap of black velvet upholstery fabric was the perfect finish on the spine - it adds a lovely texture as well as helping stabilize the 3" book. A piece of gimp finished with antique brass brads edges the velvet. The paper was so beautiful, I didn't add any embellishment except the button closure - a vintage one from a local antique shop that I love. A piece of copper jewelery wire was threaded through a glass bead to cover the button holes and secure the button to the cover. Punched a hole, threaded the wire through, covered with matching paper and lots of glue for stability then finished with a piece of woven ribbon.


This is the thickest album I've even made! Talk about real estate - there's space for 41 photos (6" X 4"). More photos can be tucked into the large pockets formed from the bag's tops. I die cut 26 tags (6 1/4" X 3 1/8") that are decorated on the front and backed with solid ivory paper for even more space for smaller photos, ephemera and journaling. I added 24 mini tags (1 5/8" X 3 1/4") for fun little places to journal or tuck in things like ticket stubs, fortunes from a special Asian meal, small pressed flowers from a special bouquet (like the wild flowers my grand kids bring me). The only limit is your imagination!


Typical construction of paper bag albums usually use the bottom of the bag. I was very frustrated by the unevenness of the bag's construction, so I cut the bottoms off and made small pockets from card stock to replace the discarded bottoms. This created additional storage for even more tags.


The amount of time Katie & I spent on this album really shows in the details. We wanted this album to be special and I think we achieved that.


All the tags were die cut using my Big Shot. This particular one was stamped, a butterfly image cut out, smaller butterflies punched and Stickles added for a bit of bling. I left the small butterfly wings loose on the edges and shaped them a little with a ball tool I use for shaping paper flowers. This gives the feeling that they are just hovering above the paper.


The large pink tag is representative of all the tags designed for the pockets created from the bag itself. The edges are die cut and holes hand punched on the front for added interest. A small ribbon bow adorns the tag and helps us grab hold of the tag to remove it easily from the pocket. This tag was masked with a piece of coarse cotton lace and sprayed with teal Glimmer Mist. Each tag opens like a greeting card and is completely plain except for those that were masked and sprayed, leaving a lot of space for large photos and other ephemera. Click on the pictures for a larger version that makes it easier to see the details. (The vintage crocheted table runner was made by my British grandmother in the early 1950's.)


This open green tag shows its simplicity, allowing more space for all those 4" X 6" pictures we sometimes have trouble placing in our albums.


This paper stack stretched my comfort zone, using color combinations I wouldn't normally use. I discovered several that I'll be using again thanks to the creativity of the paper's designers. Hope you guys enjoyed seeing what we've been up to. Hope you'll take time to add a comment - all comments are most welcome and we look forward to hearing from you! Till next time - take care!

On a personal note - today is my baby's birthday - Happy 27 Katie - I love you!


Monday, June 11, 2012

Arkansas Razorback Baby Mini Album

Hi guys! If you've been following along you may remember that I was making a mini album for a friend's new baby using the Arkansas Razorback football team as inspiration. Got it finished and she loved it. It is definitely a one-of-a-kind. I took the pictures with my camera on it's side due to the length of the album and I'm not sure I know how to turn them around, so you may have to tilt your head to see it the right way up! Here goes:


This is the front of the album. I cut each onesie by hand from chipboard. No two are alike (despite my best efforts - lol).


I used twill tape and Velcro for the closure (buttons on top are decorative only).


Opened up, the top has "Player Stats" - Drew's height, weight, birthday - since he was born before I finished the album I was able to type the information and add it. The tag on the bottom slides out of the frame (I put pop dots under it), so they can add pictures on both sides.


The remaining pages have picture mats and places for journaling along with one more raised frame and tag.


I made the back look like a football jersey, complete with our little guy's name. (Don't ask how I got all the pictures turned around except for this one - it's a mystery to me :) Thanks for stopping by! Until next time, take care!


Tuesday, May 8, 2012

New Paper Bag Album


Just finished a new paper bag album for a swap over at swap.bot. The theme was "nature". I used 2 bags split down the gusset and covered with card stock to form pockets. A third bag with handles was also split along the gusset and added to make the cover. You can see my inspiration in the background of the picture (the side yard between our log cabin and Spider Creek that runs through our property).


There are four large pockets formed with the split bags and additional smaller pockets that hold tags.


This is the first spread in the album. I used the Tim Hotlz bird cage die cut along with lots of different flowers and leaves mostly punched using McGill punches.


A close-up of the bird cage page. I really like the way it turned out. This was the first time I'd tried using so many different small pieces on one page. Some Stickles add a little shine & glitz.


The next spread shows the smaller pockets and embellished tags. The butterfly is a Sizzix die featuring a solid butterfly and a matching one with cut-outs. I left the cut-out wings free to give the image some dimension.

A close-up of some of my tags. I cut them out using a Tim Holtx die cut - love the size - just right for a small photo and some journaling. I created mats using Spellbinders Nestabilities, and left the backs of the tags plain for more photos or journaling. The small butterfly is a punch I've had for ever. I think it came from Hobby Lobby and was made by the Paper Studio.


I used Spellbinders Nestabilities again to cut a mat for the page. I embellished it with more punched flowers and a little glitz from the Stickles.


Large rectangular tags slip inside the bag pockets and are simply embellished with a paper mat and silk flower accented with a bit of Stickles and a pearl button. This gives a nice space for some 4" X 6" pictures.


I hope my swap partner will enjoy adding her special photos and memories as much as I enjoyed making it! Thanks for stopping by - take care until next time.


Friday, April 13, 2012

Lime Green Paper Bag Album

I completed this paper bag album this week for a swap over at www.swapbot.com. There's a group for swapping these little darlings, and since I love creating them, I just couldn't resist joining. This swap was 2 Bags - Artist's Choice. I usually wait until partners are assigned so I can check out their profile and try to create something the recipient will like. My partner for this swap likes green & frogs, so this is what I came up with. I started with 2 lime green gift bags from Hobby Lobby. After folding them in half, I layered them with the tops of the bags facing opposite directions and punched 3 holes using my Crop-A-Dile II. Lime green rat-tail cord was threaded through the holes and tied at the top to bind the book. I added a piece of white satin ribbon through the middle of the book for additional stability.


I cut three tags for each pocket formed when the bag was folded in half. I used my Tim Holtz "On the Edge" file folder die and my Sizzix Big Shot machine to cut the edges.


I cut smaller tags using the Sizzix Die Tags #3 and embellished them with flowers created by layering the two smallest flowers from Tim Holtz's Tattered Florals with the two smallest flowers from the Spellbinders Carnation Creations. I joined all petals to the tag using brads.

The padded frog stickers are from the Paper Studio.


Pieces of card stock were cut diagonally using the Tim Holtz "On the Edge" Scallops die to create pockets to hold the tags.


Thanks for stopping by! Until next time, happy scrapping! Shirley & Katie

Sunday, March 4, 2012

Freebies!

I promised more vintage baby ephemera for you to use in your art and here it is!

The first two are scanned from my baby book (1959). The card on the bottom was from my husband's baby shower in 1958. Remember, I own the original vintage pieces, but don't claim to own the copyrights to these images. I'm posting for your personal use only.


I used the images from my baby book in the baby book I made for my co-worker.The puppy was cropped from the larger page and enlarged to fit the space. I cut the medallions using my Spellbinder Nestabilities die set. I'll have to post the name later, all my die cuts are at my daughter's house this week and I'm posting from home. I printed them out on regular weight copy paper, trimmed them with my very sharp pointy Fisker scissors and adhered them with the Paper Studio photo safe glue sticks. The images almost melt into the background and it's difficult to tell they are collage.


Thanks for stopping by! Untill next time - take care!

Tuesday, February 28, 2012

Vintage 70's Baby Album

Hey guys! Today I want to share some pictures of the '70's baby album I'm working on for a teacher I work with. The colors drove me a little crazy - not what I usually choose for a baby album.


Everything spread out on the dining table - seems I work best with lots of choices around me. The base of the album was created using 5 Ivory cards/envelopes from the Paper Studio (Hobby Lobby) 5" X 6.5". I assembled them using my usual hinges with a 1/4" gutter. Paper from the "Tattered and Worn" Paper Studio stack was used for photo mats and tags. The solid brown, blue and olive green are from an unknown source. The odd looking red plastic cup is holding my bottle of "The Ultimate" adhesive (upside-down to keep the really thick glue easy to access). I used the envelopes to create the album pages by sealing them closed (I use glue to hold them closed, not trusting the lick-and-stick stuff on them) and cut a scant 1/8" off the bottom to form the "pocket". This cut edge becomes the top of the page; so basically, the envelope is turned up-side down.


I used the cards for tags, cutting diagonal edges on one side of the card, then punching the edge with the Martha Stewart Doily border punch. I also used it to shape the edges of the connecting hinges.


I found some great vintage baby shower cards from my mother's and my mother-in-law's collection of baby "stuff" they collected over the years from their own showers, along with some flea market finds. I scanned the originals and re-sized them to fit the album. I don't like to cut up the original ephemera. I try to preserve it for future paper artists to discover. I own the original pieces, but don't claim to own the copyright(s) to any of them. I'm sharing them for your personal use only. Please don't put these on a CD or collage sheet for sale. You may use them in art you hand create and sell, nothing commercially produced. A link back is appreciated, but not mandatory. I'd love to see what you create using these images.


I'll post more pictures of the album showing how I used the images, along with more images for you guys soon. Take care & happy creating!